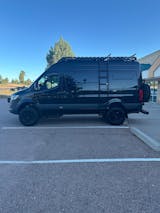
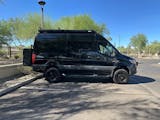
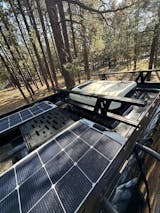
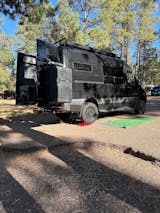
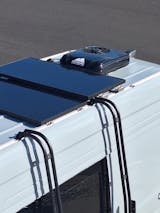
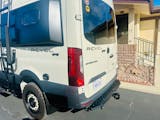
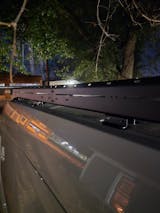
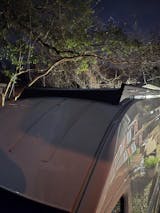
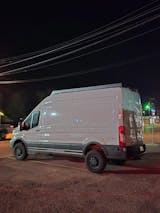
My plan is to eventually put a rooftop tent onto these heavy duty crossbars. Installation was easy and with the adjustable height it gives me a lot of different ways to apply the product to their standard roof rack. Another great product by FVCo!! Also great customer support with all my questions leading up to purchase.
Quality and easy installation. Everything i want , will buy more products from FVC !
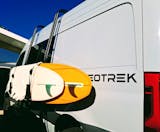
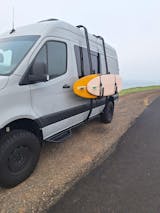
Sturdy, stylish, and functional! Looks soooooo much better than the competition. We love the design of two tubes and the cradle. Competition looks like a Home Depot DIY.
Further- we throw our skis and snowboards in a bag and use the cradle. Works perfectly!
One pro-tip: i did drill small pilot holes for the bracket into the van. The self-tapping screws needed a little start. We have a 2026 AWD Sprinter.
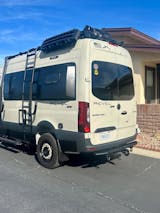
As we know, any accessories for a Sprinter is not cheap. I spent Months researching all the different manufacturers and found Flatline the Best. This Rear step is over build, looks great and easy to install. This is the fourth item purchased and I am pleased with everything. I have gone to all the Sprinter and Off-road shows, so I’ve seen the other products that are out there. Flatline is the Best! I have compared Flatline to Owl Vans and have always went with Flatline for the TRUE outfitting of off-road equipment.
Is it pricey, yes! But is it worth it, every penny. Simple to install, now I have more space for small things. Always great to reduce clutter!
I have not installe this item yet, but I will say it is of super high quality.
All of the products I ordered are quality items. They were delivered in perfect condition and on time.
Easy to install, fits well and functions great for accessing the back of the van vs the tiny OEM rear step.
Fit was super easy and quality is top notch.
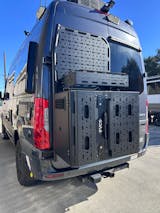
Put their rear storage box and storage box topper on the platform and it all looks great together!
Love it. It's solid, looks good. Reading 1 to 2 hour install gets on my nerves. From chiseling to goo gone to caulking..up and down ladder..took an hour. The vertical rail screws, what a fiasco..I used strips of duct tape on the heads to keep them upright, worked fantastic, used temp zip ties on fairing placement to hold one end doing it solo. Overall I'm very pleased.
We love the style, look and fit of the box to house our generator on a Mercedes sprinter van.
Overall, a straightforward step to install, and it looks very nice on the van.
Only feedback I would have is that the 17/32 drill bit was impossible to find in stores, so order ahead or be nice if Flatline included. It be nice if the step was a tad wider, but not a huge deal, be honest.
Overall, step is nice looking and very well made
The price is a little rough but the build quality and installation were great. Highly recommend.
Put this in my transit and after a few modifications on my part to make it fit it’s perfect and will be so much better than the cot I was using.
Great solid platform to reinforce my bed frame install. Fits great. Great value for quality of the product.
These posts are a work of art! Great welding and finish. Highly recommended! I’m going to put a bike rack on them.
Easy to install and works great. It added a ton of storage.
We added the double ski rack to our van that was designed around mountain bikes. Lucky for us, I had the room and they laid out perfectly. Four pair of skis, and poles, secure and ready to go!

